How to Propagate Polka Dot Plant (Ways & Steps)
Written by LisaSmith
Jan 31 2023
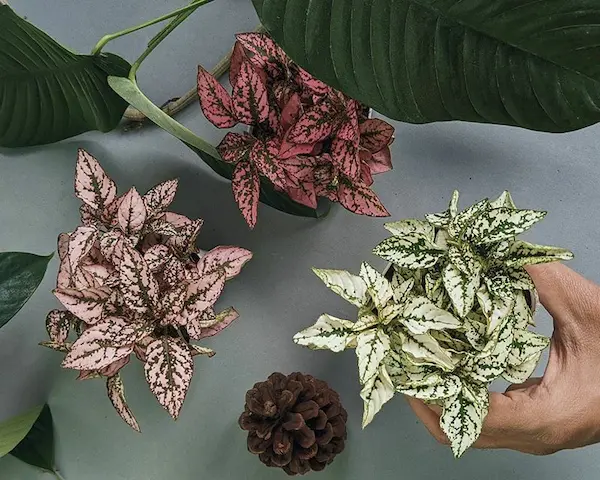
Polka Dot Plant is a relatively novelty delicate foliage houseplant, whose colorful leaves are more beautiful than the flowers of many plants. It has a strong regeneration ability. You can propagate Polka Dot Plant by division, seeds or cuttings no matter in soil or water. When propagating potted houseplants, division and cutting propagation are the most common methods. Sharing a newly propagated beautiful Polka Dot Plant with your friends and family is a good thing. Let's take a look at how to propagate Polka Dot Plant together!
When to Propagate Polka Dot Plant
For a failing Polka Dot Plant, propagate it from healthy parts immediately. For more new plants, the best time to propagate Polka Dot plants is spring or early summer when the temperature is suitable for new plants growing at 70°F to 80°F (20 to 27°C). Usually, cutting propagation can be carried out at any time under suitable temperatures, but the propagation success rate is highest when the plant is in the growing season. When propagating in summer, choose a fine morning. You can also propagate polka dot plant indoors in fall but avoid it in winter. Read More: Are Polka Dot Plants Toxic to CatsHow Long to Propagate a New Polka Dot Plant
Polka dot plant propagation from cutting takes at least 10-15 days to show any new root growth. It can take two weeks to a month before the Polka Dot Plant root grows about 2 inches. When it comes to seed propagation, It is fast to germinate in 5-10 days and it takes root in 3-4 weeks.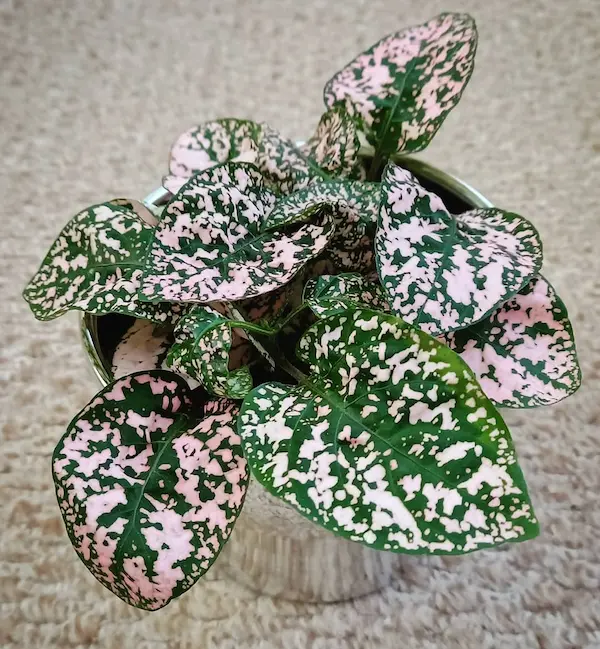
Preparations for Polka Dot Plant Propagation
Propagating Polka Dot Plant is simple. Whatever methods you use, these basic items should be prepared before starting.- A Healthy Polka Dot Plant or Healthy Parts
- Suitable Size Clean Pot with Drainage Holes
- A Pair of Sterilized Scissors or Pruners
- Right Soil Medium (Best Soil for String of Turtles)
- Clean Water
- Proper Environment
- Rooting Hormone
If propagating polka dot plant in water or from seed, you need to prepare a clean transparent container or plump seeds.
Polka Dot Plant Propagation from Cutting in Soil
Propagating Polka Dot Plant by stem cutting is the easiest and fastest method. If you are new to propagation, it is the best way to work with either in soil or in water.- Locate some healthy Polka Dot Plant stems
- Make the Cuttings
- Insert Cutting in Soil
- Place the Pot in Right Location
- Wait for New Growth and Care Normally
Polka Dot Plant Propagation from Cutting in Water
When propagating Polka Dot Plant from cuttings in water, the first two steps of making healthy cuttings are the same as in soil. Here are the next steps.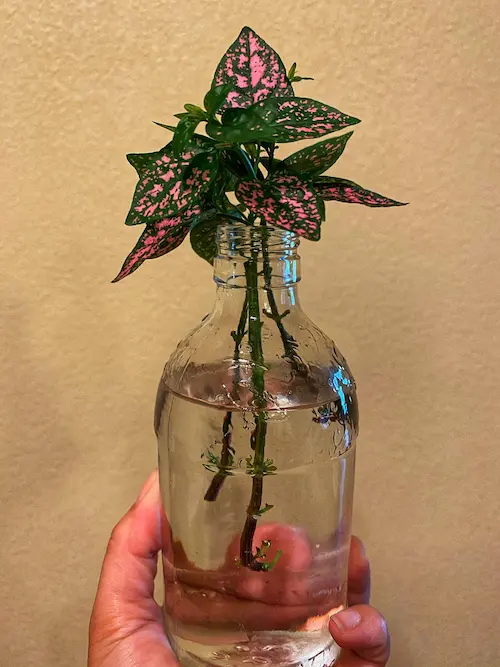
- Fill up a Transparent Container with Water
- Place the Pot in Right Location
- Change Water Regularly
- Wait for Taking Root
- Transplant polka dot plant cuttings in Soil
Polka Dot Plant Propagation from Division in Soil
Polka Dot Plant has a very special feature. If it is in a place with scattered light, there will be a lot of small buds growing from the bottom of the main stem after the polka dot plant flowers wither. At this time, you can cover the small buds with some soil so that they will grow small roots.Once the root system is established, these small buds will continue to grow into plants. Then you will get a cluster of Polka Dot Plants, which looks quite spectacular and can be used to propagate the new independent plants by division. Here are steps on how to propagate Polka Dot plant from Division.
- Stop watering for a few days before division propagation so that you can clean the soil more easily in the process.
- Take your Polka Dot Plant out of its pot. Carefully clean the soil from roots. Then trim off the odd root to detangle the plant.
- Observe the root system. Carefully break off the small buds with some roots, or use a sterilized knife to cut the small buds from the mother plant. How many new plants you want to create is completely up to you and totally depends on your mother plant.
- Plant each new plant in a pot with soil mix and place these new potted Polka Dot Plants in a location with bright, indirect light.
- Care for these plants normally.
Polka Dot Plant Propagation from Seed in Soil
When you are propagating polka dot plants from seed, sow them in a tray or pot filled with damp peat moss and perlite or a well-draining potting mix. This should be done prior to the last expected frost in spring or sometime in summer. The polka dot plant seeds require warm temperatures to germinate (around 70-75 F. or 21-24 C.) and will do so within about two weeks given adequate conditions. It usually helps to add a clear plastic covering over the tray or pot to hold in both heat and moisture.How to Care for Polka Dot Plant After Propagation
To keep the colors of Polka Dot plant leaves bright and vibrant good light conditions are a must. Bright, indirect light will work best. The soil should be nutrient-rich, well-draining, moist but not soggy. For more care tips for Polka Dot plant, please read on How to Care for Polka Dot Plant.Read Next:
- Polka Dot Plant: Facts, Care & Propagation Guide
- Do Polka Dot Plant Flower Bloom
- How to Fix a Leggy Polka Dot Plant
- How Much & How Often to Water Polka Dot Plant
- Polka Dot Plant Light Requirements
FAQs About Propagating Polka Dot Plants
You might experience some difficulties along the way because plant propagation is not always successful. But don't worry, you can find out what's causing these issues below and hopefully fix them before they kill your plant cuttings.
Why Isn't My Polka Dot Plant Cutting Growing Roots?
The most important quality you need when propagating Polka Dot Plant is patience because there is never a set period of time during which you can anticipate seeing specific levels of growth and roots. Despite the fact that growth usually starts to occur after the first week with Polka Dot Plant propagation, as long as you are giving your cuttings the proper care and placing them in the proper environment, all that is left to do is wait.
Why is My Cutting Turning Mushy?
Your Polka Dot Plant cutting may be rotting if it has begun to become mushy and soft. If too much of the cutting is submerged in water, this may occur. Unfortunately, this means that this cutting will not succeed in propagation. The propagation process should be restarted with the healthy portion of the cutting if there are any nodes on the cutting that are more than one node away from becoming mushy.
Why Are the New Leaves on My Cutting Pale?
Your Polka Dot Plant cutting may be receiving too much direct sunlight if the new leaves that are emerging are pale in color. Remove the leaves that are the most damaged from your cutting and move it to a location with bright but indirect light.
Latest Updated
- How to Fix a Leggy Polka Dot Plant (Reasons & Solutions)
- Do Polka Dot Plant Flowers Bloom
- How to Propagate Polka Dot Plant (Ways & Steps)
- Polka Dot Plant (Hypoestes Phyllostachya Baker) Care & Propagation Guide
- Philodendron Golden Goddess vs Lemon Lime - Are They The Same
- Philodendron Lemon Lime vs Moonlight - Differences
- Lemon Lime Philodendron Care & Propagation Guide
- Why Does My Ponytail Palm Have Brown Tips - How to Fix
- Is Ponytail Palm Toxic To Cats - Explained & Facts
- How Big Do Ponytail Palms Get - Does It Need Deep Pots
Popular Articles
- Winter maintenance of Antirrhinum Majus
- How to Grow Terminalia Mantaly Tree
- How to Grow and Care for Crossostephium Chinense
- How to grow Antirrhinum Majus in spring
- Peristeria Elata (Dove Orchid) Profile: Info & Care Guide
- Underwatered Snake Plant (Sansevieria Trifasciata) - Signs And How To Fix
- How to Care for Brazilian Jasmine Plant (Mandevilla Sanderi)
- Rosa Chinensis (China Rose): Plant Growing & Care Tips
- How to Grow & Care for Graptopetalum Purple Delight in Summer
- How to Care for Baby Sun Rose (Aptenia Cordifolia)