How To Propagate Pilea Plant?
Written by Ivy
Dec 29 2021
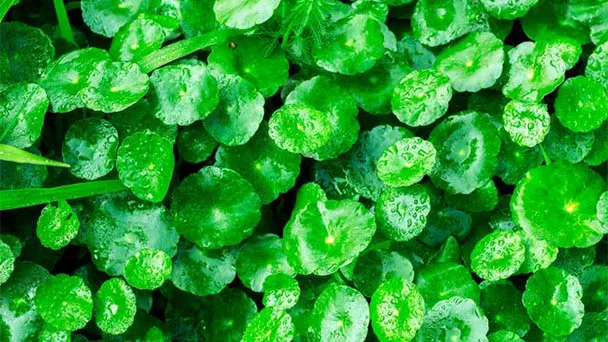
Pilea likes to grow in a shady environment. In the process of growing, it also needs enough sunshine to support its growth. Pilea is suitable for growing at a temperature between 16 and 20 degrees. It is best to be in relatively humid and well drained soil. Propagating Pilea is relatively easy, we can make Pilea into potted plants and keep it at home. Pilea likes places with appropriate temperature and humidity. If the temperature is too low or as low as minus 4 degrees, the leaves will lose their original color and fall off seriously.
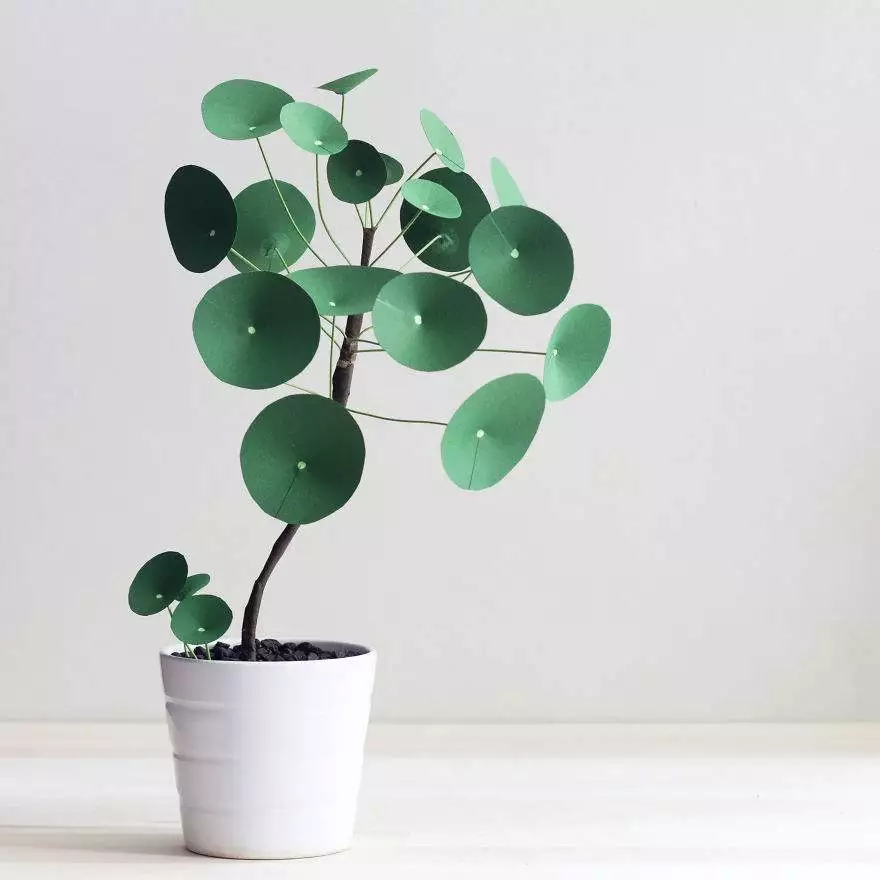
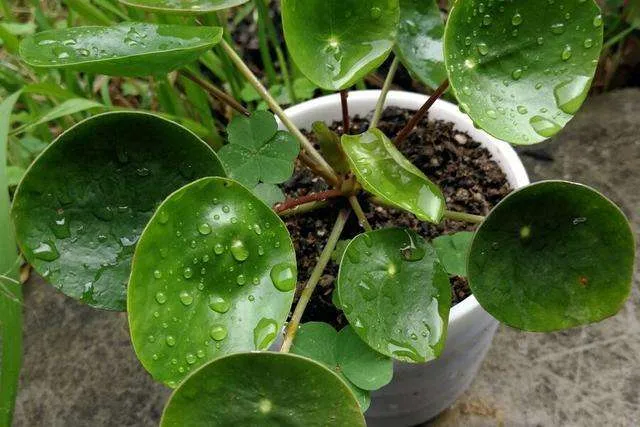 Pilea Peperomioides is a very fresh indoor foliage plant. It basically has no flowers. Even if it blooms, it is not good-looking. It is all small yellow and green flowers. Its leaves will be more beautiful. Its leaves are very thick. Like water droplets, there will be a white spot in the center of the leaves. Pilea needs to be propagated because some small lateral buds will continue to grow at the bottom of the rhizome. These lateral buds can be used for ramet propagation or hydroponic cutting. They are particularly easy to take root. If it is not propagated in time, it will affect the growth of the original plant.
 If we want to maintain Pilea well and make the leaves big, bright and green, we must ensure good soil. Soil selection is very important. It is better to use loose and fertile sandy loam with good drainage and rich humus. When maintaining and cultivating at home, we can choose to mix 3 parts of rotten leaf soil, 3 parts of garden soil, 2 parts of river sand or furnace ash and 1 part of rotten organic fertilizer. After the soil is prepared, the above pots can be filled, and the bottom of the flower pot should be padded with tiles.
We should choose the soil with soft drainage capacity and better permeability. We can choose some humus loam, and we can add some base fertilizer before propagating Pilea. In the process of growth, a little liquid fertilizer can be applied slightly, not too many times, but once a month. If too much, Pilea leaves will show a trend of crazy growth. The basin soil shall be kept moist from time to time, and the amount of water poured shall not be too much to prevent ponding.
Read More:
What Is The Best Soil For Pilea Peperomioides?
Read More:
How To Water My Pilea Peperomioides?
 We can propagate pilea Peperomioides from stem plantlets. First, we need to choose the time in late summer and early autumn, gently cut off a section of stem plantlet from the plant with a blade, and then prepare a fluffy and breathable sand. Secondly, stem plantlet is directly inserted into the wet soil and maintained at a certain humidity. It can take about half a month to take root. After taking root, it can continue to maintain for half a month to move the pot. In addition, the soil should be disinfected before spreading.
 It is easier to cultivate the propagating Pilea Peperomioides from root plantlets. We generally choose to cultivate them after warm spring. If it is in the south area where there is no frost all year round, the propagating pilea peperomioides from root plantlets can be carried out in all seasons. After the potted cultivation of Pilea peperomioides, many adventitious buds will be formed at the bottom of the rhizome of Pilea peperomioides. These are some small plants that can be cut directly from the mother plant. The small side buds with roots can be cut directly together with the roots. Each side bud should have more than three leaves, and they can survive by direct transplanting.
After the lateral buds of Pilea peperomioides are cut, we can smear the bottom cut of the branches with some plant ash or a little rooting powder, and then plant them in loose and well-drained sandy soil, which can be raised in a slightly shaded place. The soil remains slightly wet. In the process of curing in the first two weeks, we need to keep the basin soil slightly wet. After about 10 days, Some new roots will grow at the bottom of the rhizome of Pilea peonomioides, and then the light can be seen slowly and the watering can be reduced gradually.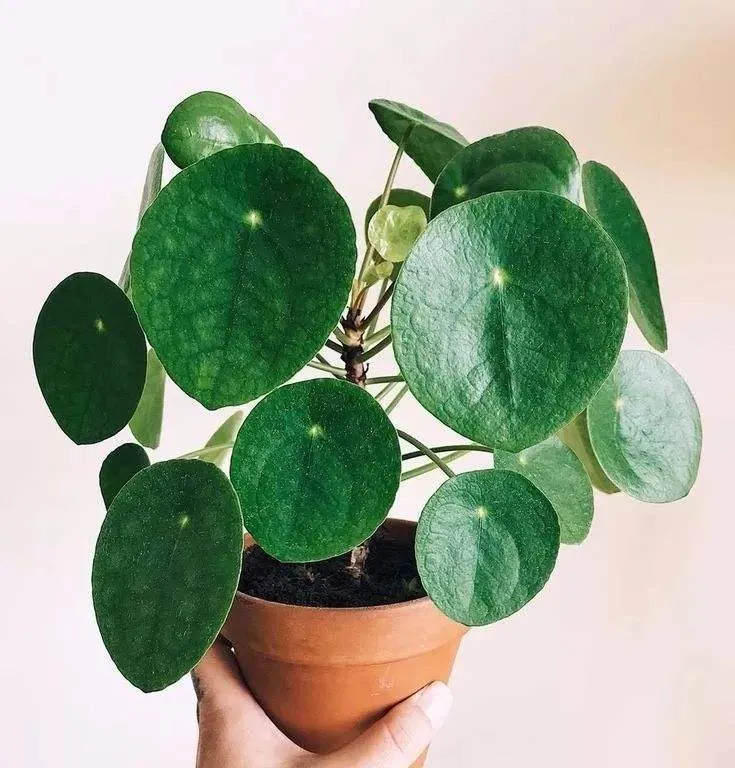
Read More:
How Much Light Does Pilea Peperomioides Need?
In particular, it should be noted that the sudden drop of temperature will cause discoloration and partial abscission of Pilea leaves and stems. If the leaves fall off due to freezing injury, but the stems are not damaged, we can maintain and manage Pilea through the winter as usual, and put the leaves into plants in the spring of cuinian. Don't put it directly in the strong sun in summer.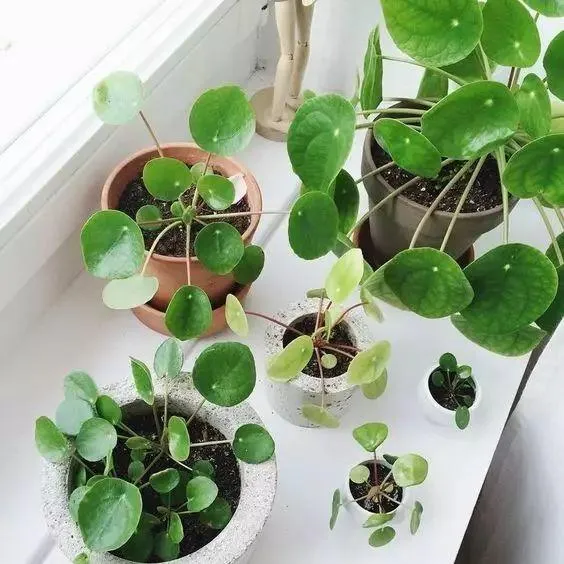
During the whole growth period of Pilea, we should keep the soil moist. It can be relatively dry in winter, but there should be no drying phenomenon. Otherwise, the leaves are easy to wither and black. In dry seasons, we often spray water on the leaf surface and around, resulting in a humid environment.
Water
Pilea plant likes humidity and is afraid of waterlogging, so we must be careful when watering pilea plant. If it is found that the soil is dry, replenish water. It can be watered thoroughly in the growing season, but pay attention not to ponding. Water should be poured on the root, along the flower pot, not on the leaves. Low temperature in winter, the soil can be dry, which is conducive to winter. In summer, in addition to watering, water should be sprayed. We can pour water into the propagated Pilea plant to promote faster adaptation. If the soil you just bought is slightly wet, you don't need to water it. Just slow it down for a period of time and manage it normally.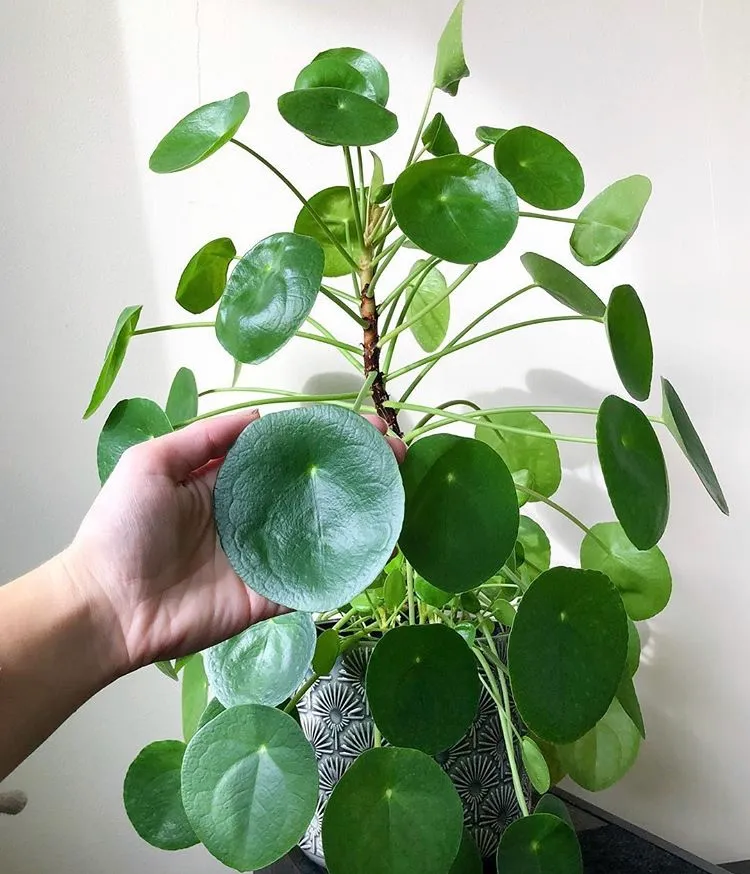
Why Should I Propagate Pilea?The Best Period to Propagate Pilea PeperomioidesThings for Pilea PropagationPilea Propagation Through SoilPilea Propagation Through WaterPrecautions for Pilea propagation by waterPropagating Pilea Peperomioides from Stem PlantletsPropagating Pilea Peperomioides from Root PlantletsPilea Plant Post CareLightTemperatureSoilFertilizerHumidity
Why Should I Propagate Pilea?
The Best Period to Propagate Pilea Peperomioides
To choose a suitable time, we can carry out the propagation at the end of summer or the beginning of autumn. We don't carry out the propagation in cold winter, because the temperature drops rapidly in winter. If it is not carried out in the greenhouse, the plants will be frostbitten and can't grow roots.Things for Pilea Propagation
- Sharp scissors or knife.
- Repotting Garden shovel
- Plant pot
- Water
- Potting mix
- Fertilizer
- Rooting hormone
Pilea Propagation Through Soil
We should choose the soil with soft drainage capacity and better permeability. We can choose some humus loam, and we can add some base fertilizer before propagating Pilea. In the process of growth, a little liquid fertilizer can be applied slightly, not too many times, but once a month. If too much, Pilea leaves will show a trend of crazy growth. The basin soil shall be kept moist from time to time, and the amount of water poured shall not be too much to prevent ponding.
Read More:
What Is The Best Soil For Pilea Peperomioides?
Pilea Propagation Through Water
- Root treatment
- Prepare container
- Propagation by water
- Hydroponic maintenance
Read More:
How To Water My Pilea Peperomioides?
Precautions for Pilea propagation by water
- First of all, when we dig out Pilea, we must not hurt its roots and underground stems. We must keep them well and protect them when cleaning.
- Pilea's requirements for water quality are not particularly strict. Fresh water with low hardness can be cultured. The pH of water is preferably between 6.5-7, neutral or slightly acidic.
- The water added to Pilea's bottle must not exceed its underground stem and root, and must not be lower than the height of the stem and root.
- If we use a relatively small appliance to raise it, we only need about three to five drops of special solution. If you use a larger container, you need to add about five to eight drops of solution to it. Remember not to put too much, or it will burn to death.
- Pilea likes areas with plenty of sunshine. If it is too hidden, it will be bad for its growth. We should let it receive light for at least four hours a day, preferably scattered light. 8-10 hours of artificial light a day can also make Pilea grow well.
Propagating Pilea Peperomioides from Stem Plantlets
Propagating Pilea Peperomioides from Root Plantlets
After the lateral buds of Pilea peperomioides are cut, we can smear the bottom cut of the branches with some plant ash or a little rooting powder, and then plant them in loose and well-drained sandy soil, which can be raised in a slightly shaded place. The soil remains slightly wet. In the process of curing in the first two weeks, we need to keep the basin soil slightly wet. After about 10 days, Some new roots will grow at the bottom of the rhizome of Pilea peonomioides, and then the light can be seen slowly and the watering can be reduced gradually.
Pilea Plant Post Care
Light
Pilea is a shade tolerant plant, but it likes light, not strong light, and scattered light is appropriate. If the light is too strong or too shaded, the brightness of Pilea leaves is easy to fade or disappear. If it is too shaded, the leaves are also easy to become thinner and the petiole becomes longer, resulting in leaf sagging. When the temperature is low in winter, full sunshine maintenance can be given.Read More:
How Much Light Does Pilea Peperomioides Need?
Temperature
The suitable growth temperature of Pilea is 15-20 ℃, and it should be kept above 7 ℃ for overwintering, otherwise it is easy to fall leaves or even die of freezing injury. When the temperature is higher than 30 ℃ in summer, the growth will stagnate and the leaves are easy to fall off.In particular, it should be noted that the sudden drop of temperature will cause discoloration and partial abscission of Pilea leaves and stems. If the leaves fall off due to freezing injury, but the stems are not damaged, we can maintain and manage Pilea through the winter as usual, and put the leaves into plants in the spring of cuinian. Don't put it directly in the strong sun in summer.
Soil
Pilea likes water and is afraid of waterlogging. It can keep the basin soil moist. It is easy to wilt and droop in drought. In severe cases, the leaves appear wrinkles, wither and die. When the temperature in winter is lower than 12 ℃, the watering times shall be controlled, otherwise it is easy to rot and is not conducive to overwintering.During the whole growth period of Pilea, we should keep the soil moist. It can be relatively dry in winter, but there should be no drying phenomenon. Otherwise, the leaves are easy to wither and black. In dry seasons, we often spray water on the leaf surface and around, resulting in a humid environment.
Fertilizer
We can't use concentrated fertilizer and large fertilizer for Pilea, but we can use more in a small amount. It's most appropriate to sprinkle with sparse fertilizer and water. If the temperature is more than 28 degrees and less than 12 degrees, fertilization will be stopped. During the growth period of Pilea, we can apply liquid fertilizer every 15 days.Water
Pilea plant likes humidity and is afraid of waterlogging, so we must be careful when watering pilea plant. If it is found that the soil is dry, replenish water. It can be watered thoroughly in the growing season, but pay attention not to ponding. Water should be poured on the root, along the flower pot, not on the leaves. Low temperature in winter, the soil can be dry, which is conducive to winter. In summer, in addition to watering, water should be sprayed. We can pour water into the propagated Pilea plant to promote faster adaptation. If the soil you just bought is slightly wet, you don't need to water it. Just slow it down for a period of time and manage it normally.
Humidity
For novices, it may be difficult to control the humidity of the Pilea plant. However, after you observe the growth of the Pilea plant for a period of time, you will find certain rules. It is very clear when to spray water and when to control water. In the final analysis, humidity is the control of water, and water should be combined with fertilization, so the difficulty is understandable. We can just keep the appropriate humidity for Pilea plant. Excessive drought will affect the growth state of leaves, wilt and droop, and wrinkle and wilt will appear in serious cases. The effect of excessive humidity is relatively direct, and the wilting death performance is very fast.Latest Updated
- Benefits of Bugleweed - 7 Science-backed Health Benefits
- Bugleweed Dangers & Side Effects - Is It Poisonous?
- How to Plant Evergreen Trees - What You Should Know
- When to Plant Evergreens - Grow Guide for Evergreen Trees
- 12 Wonderful Evergreen Shrubs for Your Garden
- 12 Popular Evergreen Plants with Pictures for Beginners
- When And How To Prune A Lilac Bush Like a Pro
- How to Grow & Care for Lilac Vine (Hardenbergia Violacea)
- Japanese Lilac Tree (Syringa Reticulata) Care & Propagation Guide
- Shumard Oak Pros and Cons - What to Know
Popular Articles
- Winter maintenance of Antirrhinum Majus
- How to Grow Terminalia Mantaly Tree
- How to Grow and Care for Crossostephium Chinense
- How to grow Antirrhinum Majus in spring
- Peristeria Elata (Dove Orchid) Profile: Info & Care Guide
- Underwatered Snake Plant (Sansevieria Trifasciata) - Signs And How To Fix
- How to Care for Brazilian Jasmine Plant (Mandevilla Sanderi)
- How to Grow & Care for Graptopetalum Purple Delight in Summer
- Rosa Chinensis (China Rose): Plant Growing & Care Tips
- How to Care for Baby Sun Rose (Aptenia Cordifolia)